Endo Camera Essentials: A Beginner’s Guide to High-Definition Endoscopy
Endoscopy has transformed modern medicine by allowing physicians to visualize internal organs with clarity and precision. Central to this advancement is the Endo Camera, a specialized imaging device engineered for high-definition procedures. Whether you’re a medical student, a novice technician, or simply curious about endoscopic technology, understanding the fundamentals of the Endo Camera will empower you to harness its full potential. In this beginner’s guide, we’ll explore what an Endo Camera is, its core components, and practical tips for selecting, setting up, and maintaining your equipment. By the end of this article, you’ll have a solid grasp of Endo Camera essentials and be ready to take your first steps in high-definition endoscopy.
What Is an Endo Camera?
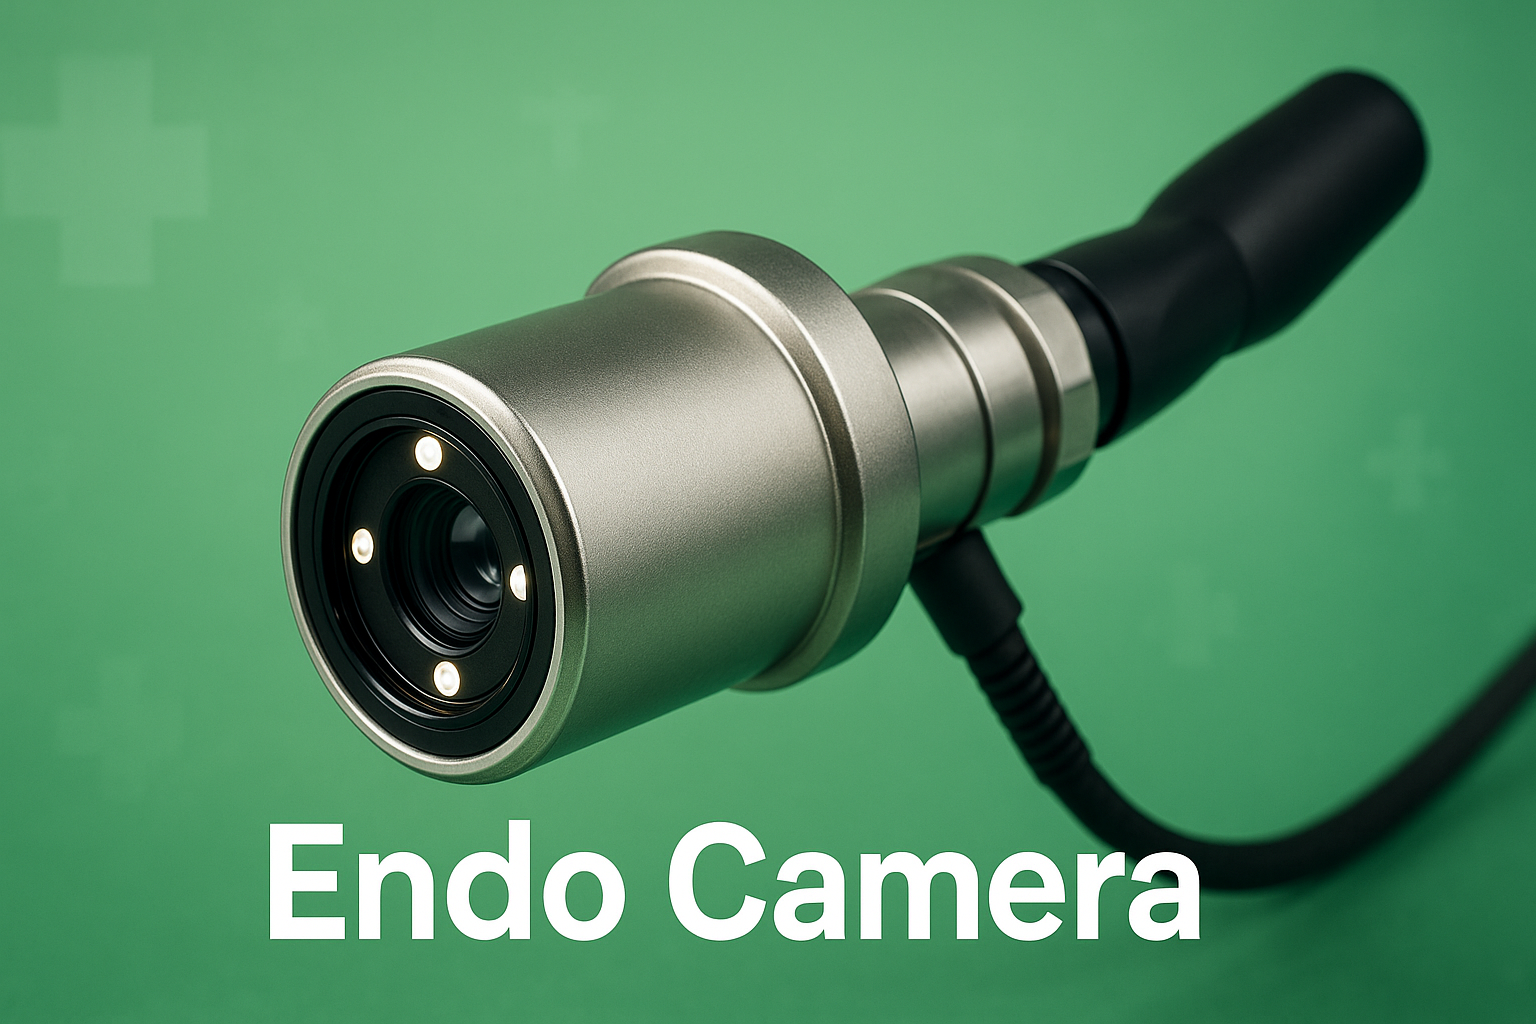
An Endo Camera is a compact, high-resolution video camera designed to be attached to an endoscope—a flexible or rigid tube used to examine internal bodily structures. Unlike traditional cameras, the Endo Camera must operate under challenging conditions: low light, moisture, and narrow passages. To achieve this, it integrates advanced optics, illumination, and image-processing technologies.
Typically, an Endo Camera comprises:
-
A high-sensitivity image sensor for capturing clear visuals in dim environments.
-
A lens system calibrated to provide wide viewing angles without distortion.
-
Integrated LED or fiber-optic light sources to illuminate the target area.
-
A waterproof housing that protects delicate electronics during sterilization.
With these features, the Endo Camera allows healthcare professionals to observe tissues, capture still images, and record video for diagnostic, surgical, and educational purposes. Whether used in gastroenterology, pulmonology, or urology, the Endo Camera stands at the heart of modern minimally invasive proceduresKey Components of a High-Definition Endo Camera
To appreciate the capabilities of an Endo Camera, it helps to understand its main components:
-
Image Sensor
The image sensor—often a CMOS chip—determines the resolution and sensitivity of your Endo Camera. Higher pixel counts yield sharper images, while larger sensor sizes capture more light, reducing noise in darker areas. -
Optical System
Precision-engineered lenses focus light onto the sensor. A well-designed optical system in the Endo Camera minimizes aberrations and ensures uniform sharpness across the field of view, crucial for accurate diagnostics. -
Illumination Module
Without adequate lighting, even the best Endo Camera cannot produce usable images. Most systems employ powerful, cool-running LEDs or external fiber-optic light guides, providing bright, focused illumination while preventing heat damage to tissues. -
Housing and Sterilization Compatibility
The outer casing of an Endo Camera must withstand repeated sterilization cycles. Materials like stainless steel or medical-grade polymers ensure durability, while sealed designs keep moisture and cleaning agents out of the electronics. -
Connectivity and Ergonomics
Modern Endo Cameras feature plug-and-play interfaces (USB, HDMI, or proprietary connectors) for easy integration with monitors and recording devices. Ergonomic design considerations—lightweight construction, secure mounting onto endoscope shafts—enhance user comfort during lengthy procedures.
By combining these components, a high-definition Endo Camera delivers crisp, true-to-life images that enable precise examination and documentation.How Endo Cameras Revolutionize Diagnostics
The introduction of high-definition Endo Cameras has markedly improved diagnostic accuracy and patient outcomes:
-
Enhanced Visualization
With superior resolution and contrast, Endo Camera systems reveal subtle mucosal patterns and early lesions that might be missed with standard-definition equipment. This heightened visibility supports earlier detection of conditions like polyps, ulcers, and tumors. -
Real-Time Decision Making
Live video feeds from the Endo Camera allow clinicians to assess pathology on the spot. Immediate insights can guide biopsy decisions, therapeutic interventions, or adjustments in procedural approach without time-consuming guesswork. -
Documentation and Collaboration
High-quality images and videos captured by the Endo Camera can be archived in patient records or shared with colleagues for multidisciplinary consultation. This collaborative approach fosters better treatment planning and peer learning. -
Training and Education
Trainees benefit from watching detailed procedural footage recorded by the Endo Camera. Instructors can pause, annotate, and review techniques, accelerating the learning curve for endoscopic skills. -
Minimally Invasive Surgery
In surgical settings, Endo Camera guidance enables precise instrument placement, reducing tissue trauma and shortening recovery times. Surgeons can navigate complex anatomies with confidence, expanding the scope of laparoscopic and arthroscopic procedures.
Overall, the Endo Camera is a cornerstone of modern minimally invasive medicine, enhancing both diagnostic and therapeutic capabilities.
Choosing the Right Endo Camera for Beginners
Selecting your first Endo Camera can feel overwhelming given the range of models and features available. Here are some tips to streamline the decision-making process:
-
Assess Your Clinical Needs
Determine which procedural areas you’ll focus on—gastroenterology, pulmonology, ENT, or urology. Each specialty may favor different form factors and light sources. Match the Endo Camera specifications to your anticipated use cases. -
Prioritize Image Quality
Look for an Endo Camera with at least 1080p (Full HD) resolution. If budget allows, consider 4K-capable sensors for future-proofing. Ensure the camera offers adjustable frame rates to balance image clarity with fluid video playback. -
Check Compatibility
Confirm that the Endo Camera integrates seamlessly with your existing endoscope, monitor, and recording systems. Universal connectors like USB 3.0 or standardized HDMI simplify setup, while proprietary systems may require additional adapters. -
Consider Portability and Ease of Use
For beginners, a lightweight Endo Camera with intuitive controls reduces setup time and user fatigue. Some models offer touchscreen interfaces or software-driven configurations that streamline parameter adjustments. -
Evaluate Cost and Warranty
Higher-end Endo Camera units come with extended warranties and service plans. Factor in not only the initial purchase price but also the cost of maintenance, sterilization accessories, and potential repairs. -
Seek Hands-On Demonstrations
Whenever possible, attend workshops or vendor demonstrations. Testing an Endo Camera in a simulated environment helps you gauge its ergonomics, image quality, and overall fit for your practice.
By following these guidelines, you’ll be well-equipped to choose an Endo Camera that aligns with your clinical goals and workflow preferences.
Setting Up and Handling Your Endo Camera
Proper setup and handling are vital to obtaining reliable performance from your Endo Camera:
-
Initial Calibration
Before first use, calibrate white balance and focus settings according to the manufacturer’s instructions. This ensures accurate color reproduction and sharp imagery during procedures. -
Sterilization Protocols
Adhere strictly to recommended cleaning methods. Many Endo Camera housings support autoclaving, while others require chemical disinfectants. Verify that no solvents impair optical components or seals. -
Mounting the Camera
Securely attach the Endo Camera to the endoscope’s eyepiece or designated coupling. A snug, wobble-free connection prevents image shake and maintains consistent framing. -
Lighting Adjustment
Adjust LED brightness or fiber-optic light intensity based on the target tissue and procedural setting. Overly bright illumination can wash out features, while insufficient light yields dark, noisy images. -
Cabling and Connectivity
Route cables to minimize tension and risk of snagging. Use cable management accessories when available. Confirm that the Endo Camera’s output signal displays correctly on your monitor or recording device. -
Practice Sessions
Conduct trial runs on simulators or animal models to become familiar with the Endo Camera’s ergonomics and image controls. This practice reduces procedural time and enhances confidence during live cases.
By establishing consistent setup routines, you’ll optimize the performance of your Endo Camera and maintain high standards of patient safety.
Maintenance and Troubleshooting Tips for Endo Cameras
Even with proper handling, occasional issues may arise with your Endo Camera. Here’s how to keep your equipment in top shape:
-
Routine Inspections
After each use, examine the camera housing for cracks, scratches, or seal breaches. Inspect cables and connectors for wear. Promptly address any damage to prevent system failures. -
Cleaning and Drying
Thoroughly dry all components before storage to prevent corrosion. Use lint-free cloths and recommended cleaning agents. Avoid abrasive materials that could scratch lenses or sensor covers. -
Software Updates
Check for firmware or driver updates that may enhance performance, fix bugs, or introduce new imaging features. Regular updates keep your Endo Camera operating at peak capability. -
Handling Image Artifacts
If you notice flickering, color shifts, or noisy patches, recalibrate white balance and test under different lighting. Persistent artifacts might indicate sensor degradation or cable faults requiring professional servicing. -
Addressing Fogging
Use anti-fog solutions on the objective lens or employ pre-heating techniques. Maintaining lens temperature close to body temperature reduces condensation during insertion. -
Service Agreements
Enroll in manufacturer or third-party maintenance plans. Scheduled preventative maintenance—such as seal replacement and sensor realignment—extends the lifespan of your Endo Camera.
By following these maintenance and troubleshooting steps, you ensure that your Endo Camera remains reliable, delivering crisp, consistent imaging over years of use.
Conclusion
High-definition endoscopy owes much of its success to the remarkable capabilities of the Endo Camera. From its advanced image sensors to precision optics and robust housings, the Endo Camera empowers clinicians to diagnose, treat, and teach with unparalleled clarity. As you embark on your journey with endoscopic technology, remember to select an Endo Camera suited to your specialty, master proper setup routines, and commit to diligent maintenance. With these essentials in hand, you’ll be well on your way to leveraging high-definition endoscopy for improved patient care, heightened diagnostic accuracy, and ongoing professional growth. Embrace the world of the Endo Camera, and let clear vision guide your clinical practice.